Master Cel-Shaded Animation: Hirao’s Blender Workflow Secrets
🧐 Frustrated with Janky Cel-Shaded Renders? Your Workflow Might Be the Culprit.
You pour hours into Blender, follow every tutorial, yet your cel-shaded characters still lack that certain oomph. They feel stiff, the motion is off, and those crucial subtle details just aren’t translating. It’s a common roadblock. The good news? The fix often lies in refining your approach, not just mastering new tools. This course breaks down how Hirao, a seasoned 3DCG animator, tackles these challenges, offering practical insights you can implement immediately.
💡 Hirao’s Top 3 Workflow Tweaks for Dynamic Cel-Shading
1. Sketch First, Animate Second: The Blueprint for Fluidity
The Core Principle: Don’t jump straight into Blender for complex movement. Rough animation sketches are your visual blueprint. This is crucial for mapping out timing, spacing, and the very essence of the motion before getting bogged down in 3D.
The Method:
- Embrace the Rough: Whether 3D or hand-drawn, a “bad” sketch is better than no sketch. Focus on conveying movement, not artistic perfection. Hirao shares examples where simple lines captured the core motion for a dynamic jump sequence.
- Blueprint Your Blueprint: Use these sketches to define key poses, arcs, and the flow of action. This visual guide dictates camera movement, character energy, and helps avoid wasted time on animating awkward poses.
- Timing is Everything: The sketch helps you establish the basic timing and spacing. This foundational understanding ensures that when you translate it to Blender, the movement feels natural and impactful, not robotic.
2. Camera-Conscious Animation: Keeping the Viewer in Mind
The Core Principle: Your camera work isn’t just framing the action; it’s an active participant in storytelling. Hirao emphasizes a deliberate camera approach to enhance, not detract from, character performance.
The Method:
- Stability During Action: For fast-paced, exaggerated actions, Hirao advises minimizing camera movement. This keeps the focus on the character’s energy and prevents visual overload for the viewer. When the character moves intensely, a stable camera captures that power more effectively.
- Strategic Camera Shifts: Change camera angles only when a significant shift in perspective or storytelling is needed. This creates clear visual breaks and directs the audience’s attention deliberately.
- Don’t Clash with Character Energy: Be mindful of how camera movement can either complement or cancel out the character’s momentum. Rapid camera shakes can fight against a character’s powerful leap, making the impact less visible. Subtle camera movements allow the character’s dynamism to shine.
3. The “Easy on the Eyes” Principle: Viewer Comfort is Key
The Core Principle: Great animation is not just about technical skill; it’s about viewer experience. Hirao prioritizes clarity and comfort, especially for a broader audience.
The Method:
- Less is Often More: While dynamic camera work has its place, excessive movement can make the screen difficult to follow. Aim for camera stability during action sequences to ensure the audience can easily track the character’s performance.
- Consider Your Audience: Think about who you’re animating for. Younger audiences might appreciate more visual flair, but for a general audience, clarity and ease of viewing are paramount. This often means less aggressive camera movement.
- Complement, Don’t Compete: The camera’s movement should support the character’s energy. If the character is a whirlwind of motion, let them have the spotlight. Use the camera to frame that energy, not to compete with it.
🛠️ Key Skills & Details That Define Professional Quality
Beyond the fundamental principles of animation—like understanding physics, object weight, and anatomy for natural posing—professionals focus on the subtle details that bring cel-shaded characters to life. This includes:
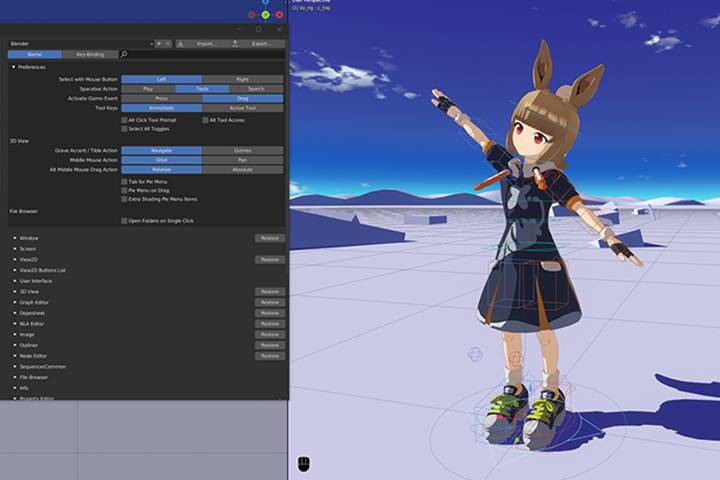
- Mastering Blender’s Rigging: Efficiently setting up Inverse Kinematics (IK) and Forward Kinematics (FK) for smooth character motion. Understanding how to switch between IK/FK is vital for creating fluid transitions.
- Harnessing Grease Pencil: Even if you’re not a traditional artist, Blender’s Grease Pencil tool is invaluable for quickly sketching out animation ideas, blocking out movements, and creating 2D-style layouts within a 3D environment. This is key for nailing the anime aesthetic.
- Strategic Secondary Animation: Moving elements like hair, clothing, or props to react realistically to the character’s primary motion. Hirao details how to animate these elements to convey the feel of wind, gravity, or the character’s actions, adding significant depth. For instance, animating hair to move in opposition to the character’s spin enhances the sense of centrifugal force.
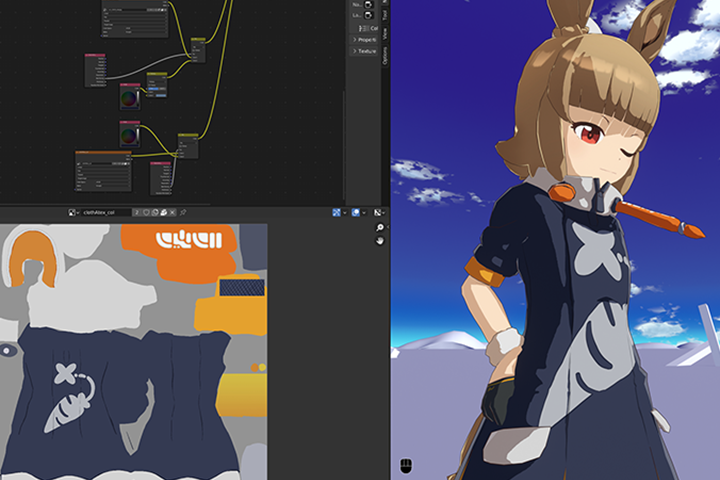
- Toon Shading Nuances: Going beyond basic toon shaders to achieve specific anime styles. This involves understanding how light and shadow interact with the flat colors and how to use Blender’s rendering features to mimic traditional animation looks.
- Compositing and Rendering: Learning how to set up render layers, manage materials, and use sequencers for editing. This ensures the final output maintains visual clarity and artistic intent, especially when rendering without a background.
💬 Frequently Asked Questions
Q. What is the most challenging aspect for someone starting 3D character animation with Blender?
Hirao notes that a common hurdle is understanding how to translate animation principles into Blender’s 3D space, especially for beginners unfamiliar with its animation tools. This course addresses this by providing step-by-step guidance on using Blender’s animation features and offering practical application exercises that focus on both foundational animation concepts and stylistic execution.
Q. How can 3Dcganimator Hirao’s advice on rough animation sketches be practically applied?
3Dcganimator Hirao strongly advocates for drawing rough animations before diving into 3D. The practical application involves creating simple “blueprints” of key poses and movement paths. For example, a sketch might outline the arc of a character’s jump, the crouch before takeoff, and the landing impact. This visual planning, even if rudimentary, guides the timing, spacing, and overall flow when setting up keyframes in Blender, ensuring a more dynamic and natural final animation.
Q. What are the essential camera techniques Hirao recommends for action scenes in cel-shaded animation?
3Dcganimator Hirao recommends a strategy of camera stability during high-energy action sequences. The core idea is to minimize camera movement when the character’s own motion is intense or exaggerated. This approach keeps the focus squarely on the character’s performance and prevents visual clutter. Strategic camera angle changes are advised only when there’s a narrative reason to shift perspective, ensuring the audience can easily follow the action and appreciate the character’s energy without being overwhelmed.