Transforming Anime Characters to 3D: Expert Sculpting Secrets from Wandah Kurniawan
🧐 The Frustration of Anime to 3D Translation
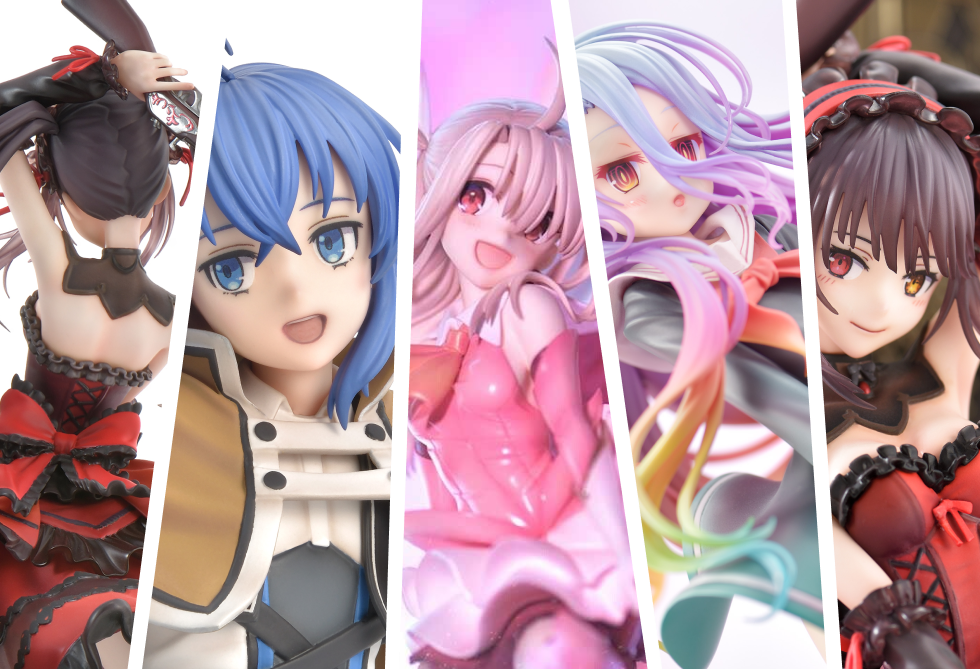 You meticulously follow every tutorial, but your 3D anime character models still lack that authentic spark, or worse, they’re just not 3D printable. It feels like there’s a missing piece, a gap between the 2D charm and the 3D reality. Often, the solution lies not in learning a new button, but in understanding core principles and workflow adjustments that seasoned professionals use daily.
💡 Three Pillars of Professional 3D Anime Sculpting
1. Mastering Proportions for Anime’s Unique Anatomy
Understanding and replicating anime’s distinct anatomical proportions is paramount. It’s not just about replicating shapes; it’s about capturing the essence of the style. Focus on refining how you build foundational forms, paying close attention to how key features like eyes, hands, and feet are stylized. This allows you to create characters that feel immediately recognizable as anime, even in their 3D interpretation.
2. Streamlining Your Sculpting Workflow for Efficiency
Time is a critical asset. Discover how to break down complex 2D concepts into manageable 3D forms quickly. This involves smart use of ZBrush tools, efficient masking techniques, and understanding when to use Dynamesh versus ZRemesher. A well-optimized workflow prevents you from getting bogged down in repetitive tasks, allowing more time for creative refinement. For instance, mastering how to effectively merge and split subtools is crucial for both rendering and preparing models for 3D printing.
3. The Power of Color and Detail for Impact
The final touches are where a good model becomes great. It’s about understanding how color choices, even at the polypainting stage, affect the perception of form and material. For example, using subtle color shifts and contrast adjustments in ZBrush can dramatically enhance the perceived depth of water effects or clothing wrinkles. This detail-oriented approach ensures your character pops, whether on screen or as a physical print.
🛠️ Key Skills & Details That Define Professional Quality
The journey from a 2D sketch to a tangible 3D collectible demands a deep dive into specific techniques. It’s about understanding the ‘why’ behind each step. For instance, when dealing with water effects, the script highlights a meticulous approach to color application. This isn’t just about slapping on blue; it involves layering shades, adjusting saturation, and using contrast to create a convincing sense of volume and transparency. The process emphasizes checking the model from different angles – zooming out frequently – to ensure the color choices create good contrast and don’t become distracting.
Furthermore, the practical advice on preparing models for 3D printing is invaluable. This includes understanding how to strategically cut models and export them in a print-ready format. Techniques like using Dynamesh and ZRemesher not only help in achieving clean topology but also in fixing potential issues like gaps or holes that could cause problems during printing. The expert emphasizes refining mesh details after these operations, often using smoothing brushes or projecting details back onto the cleaned mesh, to ensure that the integrity of the sculpt is maintained. This level of detail in workflow, from initial sculpt to final output preparation, is what separates professional-grade work.
💬 Frequently Asked Questions
Q. As a 3D Character Artist, what’s the most common pitfall when translating anime hair to 3D?
A. The most common pitfall for a 3D Character Artist is creating hair that looks too stiff or artificial. Anime hair often has a stylized flow and volume that can be challenging to capture. The key is to think in terms of separate, large masses rather than individual strands initially, and then refine them with dynamic sculpting and careful color application to suggest movement and depth.
Q. As a 3D Character Artist, how can I ensure my 3D anime character models are truly 3D printable?
A. For a 3D Character Artist aiming for printability, focus on creating watertight models with clean topology and no intersecting geometry. Pay close attention to wall thickness, especially for delicate parts like accessories or thinner sections of hair. The course details specific methods for cutting models into manageable parts for printing and ensuring those parts fit together seamlessly.
Q. As a 3D Character Artist, what’s the best way to achieve vibrant water effects in my 3D models, similar to those seen in anime?
A. To achieve vibrant water effects as a 3D Character Artist, focus on layered polypainting with distinct color variations. Use brighter blues for highlights and deeper blues or even purples for shadows to create contrast. The script also shows how to add subtle white highlights to suggest light catching the water’s surface, and how to adjust saturation and intensity to make the effect stand out without looking flat.