Mastering Lens Flares in VFX: Pro Techniques from a Hollywood Artist
🧐 When Your CG Needs That Cinematic Sparkle, But Looks Fake
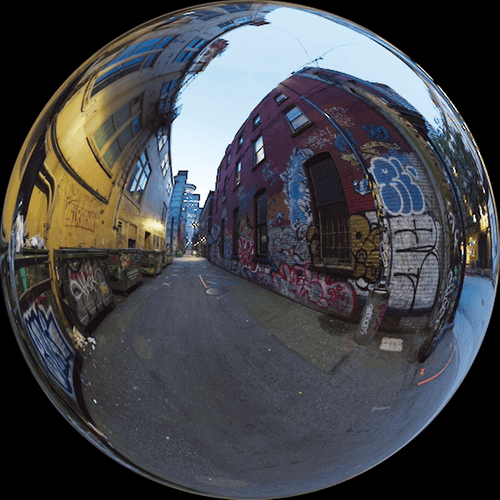 The struggle is real: you’ve got the core render sorted, but that final touch – the subtle lens flare or light bloom – feels flat or overly artificial. Many artists fall into the trap of applying these effects too heavily, or using presets without understanding their fundamental purpose. The key to believable lens flares isn’t just about adding them; it’s about understanding the underlying optics and how light interacts with a camera lens.
💡 Key Takeaways for Authentic Lens Effects
Here are three core principles from 3D Artist Jun-Eun Kim that will elevate your lens flare work from amateurish to industry-standard:
1. Understanding Lens Behavior: The Foundation of Realism
- Beyond Presets: Lens flares are generated by light bouncing within a lens system. Different lens shapes create distinct flare patterns – anamorphic flares are long and linear, while spherical flares are circular or star-shaped. Recognize that these are not arbitrary effects; they are physical phenomena.
- Subtlety is King: Modern lenses are heavily coated to minimize flares. In CG, replicating this means avoiding over-the-top, “digital-looking” flares. Aim for subtle, organic-looking effects that enhance, rather than dominate, the scene. The goal is to suggest the presence of light interaction, not to create a spectacle.
- Purposeful Application: Flares should complement the scene’s lighting and narrative. If your scene doesn’t have a strong light source hitting the camera directly, a massive anamorphic flare might look out of place. Consider the shot’s context – is it meant to feel gritty and realistic, or stylized and cinematic?
2. Workflow Efficiency: Smart Tracking and Layering
- Precise Headlight Tracking: To seamlessly integrate lens flares, especially those tied to specific elements like headlights, accurate tracking is crucial. Use dedicated tracking tools within your software (e.g., Nuke’s LensDistortion and tracking nodes) to map the flare’s movement precisely. For instance, tracking a headlight’s motion ensures the flare follows its exact path, including any subtle bounces or changes in intensity.
- Layering for Control: Break down complex lens effects into multiple layers. This allows for granular control over each element – brightness, color, falloff, and shape. For example, you might have one layer for a subtle rainbow effect and another for a specific headlight bloom. This approach ensures each component contributes naturally to the final composite.
- Memoization is Key: As you build complex setups, consistently add descriptive memos to your nodes. This is invaluable when handing off work or revisiting a project later. A simple memo like “Headlight Flare - Rainbow Effect” or “Anamorphic Streak - Brightness Adjustment” saves immense time and confusion.
3. The Art of Faintness: Mastering Brightness and Contrast
- Controlled Intensity: A common pitfall is setting flare brightness too high. Use multiplier values judiciously, often starting with subtle amounts like 0.26 or 0.005, and gradually increasing if necessary. The goal is a faint gleam, not a blinding flash.
- Chroma Shift for Depth: Introduce subtle chromatic aberration or “chroma shift” to mimic real-world lens imperfections. This splitting of colors at the edges adds a layer of realism that is often overlooked. Apply this sparingly to avoid an overly stylized look.
- Balancing Elements: When combining multiple flare elements (like a rainbow and a specific headlight bloom), balance their intensities. Use tools like “Screen” or “Add” blending modes, and adjust opacity or multipliers to ensure they harmonize without overpowering the scene. The aim is a cohesive visual effect.
🛠️ Key Skills & Details That Define Professional Quality
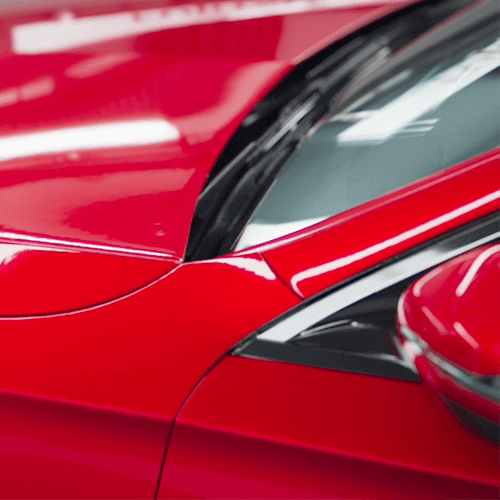
Professionals achieve realistic lens flares by deeply understanding optical principles and applying them through specific software techniques. Here’s a breakdown of essential skills:
- Lens Tracking Precision: Mastering tracking tools to accurately capture the movement and perspective shifts of light sources is fundamental. This ensures flares dynamically follow the action, adhering to the scene’s motion.
- Shader Construction: Building flares from scratch using nodes like Maya’s
flareor Nuke’sGlowand custom setups allows for unparalleled control. Understanding parameters likerepeat(number of rays),falloff,offset, andradiusis crucial for sculpting the desired effect. - Color Grading for Atmosphere: Subtle adjustments to hue and saturation, or the introduction of specific color tints (like purple or blue) via
Gradenodes, can greatly enhance realism. Chroma shift, a subtle color separation effect, can mimic optical aberrations and add depth. - Expression-Based Animation: For dynamic effects like flickering LEDs, leverage expressions. A simple sine wave animation applied to brightness (
multiplyorgain) can simulate the natural flicker of light sources, adding a subtle but crucial layer of realism. - Compositing Logic: Understanding blending modes (
Screen,Add,Mix) and alpha channel manipulation is key to integrating flares seamlessly. UsingUnpremultcorrectly ensures that the flare interacts realistically with the underlying image elements and lighting. - Workflow Organization: Implementing clear node naming conventions, applying
Backdropnodes for grouping related effects, and leaving detailed memos are vital for managing complex compositing scenes and collaborating with other artists.
💬 Frequently Asked Questions
Q. 3D Artist, How can I avoid making my lens flares look too artificial or digital?
A. The key is subtlety and understanding the physics. Avoid overly bright or saturated flares. Instead, focus on faint, organic shapes and colors, perhaps introducing subtle chromatic shift or using multiple, less intense flare elements layered together. Start with very low intensity values (e.g., 0.005 multiplier) and build up gradually.
Q. 3D Artist, What’s the best way to attach a lens flare to a moving light source like a car headlight?
A. Accurate motion tracking is paramount. Use your software’s tracking tools to capture the headlight’s movement precisely. Once tracked, copy the animation data and paste it to the lens flare element’s transform controls. This ensures the flare moves in sync with the source, creating a convincing effect.
Q. 3D Artist, Can I create good lens flares without using specialized plugins?
A. Absolutely. Most professional compositing software (like Nuke) has built-in nodes that allow you to construct complex lens flares from basic geometric shapes, blurs, and color adjustments. Understanding the underlying principles of light interaction with lenses is more important than relying on pre-built effects.