Character Design Lighting: Master DOKSA’s Pro Workflow
🧐 When Your Lighting Doesn’t Pop: The Simple Fix
 When you meticulously follow every step, yet your character lighting still feels flat or uninspired, it’s easy to get frustrated. Turns out, the solution often lies not in complex techniques, but in a strategic approach to applying light and shadow. Concept artist DOKSA emphasizes understanding how light interacts with form before diving into detailed rendering.
💡 DOKSA’s Core Lighting Principles for Impactful Characters
Here are three key takeaways from DOKSA’s approach to character lighting that will immediately elevate your illustrations:
1. Strategic Light Placement: Think Big First, Then Small
The foundational principle is to establish the overall atmosphere with large light sources before adding intricate details. DOKSA suggests starting by defining the primary light direction—for instance, a soft backlight to illuminate both the character and its immediate surroundings. This approach makes it easier to manage shadows and highlights across the entire illustration. Remember, it’s not just about the technique itself, but about shifting your perspective to see light as a sculpting tool.
2. Workflow Efficiency: Layer Masks & Adjustment Layers are Your Best Friends
To avoid cumbersome corrections later, DOKSA stresses the importance of working non-destructively. Always utilize separate layers for lighting effects and apply clipping masks or adjustment layers (like Brightness/Contrast or Multiply) for precise control. This allows for easy iteration and fine-tuning without damaging the base sketch. For instance, using a Lasso Tool selection on a new layer before applying adjustments ensures that edits are confined and easily reversible.
3. The Finishing Touch: Gaussian Blur & Outer Glow for Dynamic Shine
To achieve that subtle, glowing effect or a stronger sense of light emission, DOKSA often turns to Gaussian Blur or the Outer Glow layer style. When applied thoughtfully to specific highlight areas, these tools can add a professional polish that makes your character’s lighting truly shine. DOKSA advises experimenting with Size and Opacity values, and even applying these effects on a new layer with a blur filter for a softer, more integrated look. The key is to use these effects to emphasize, not overpower, the character’s form.
🛠️ Key Skills & Details That Define Professional Quality
Mastering character lighting goes beyond simply applying bright or dark areas. It’s about understanding how light sculpts form, defines mood, and guides the viewer’s eye.
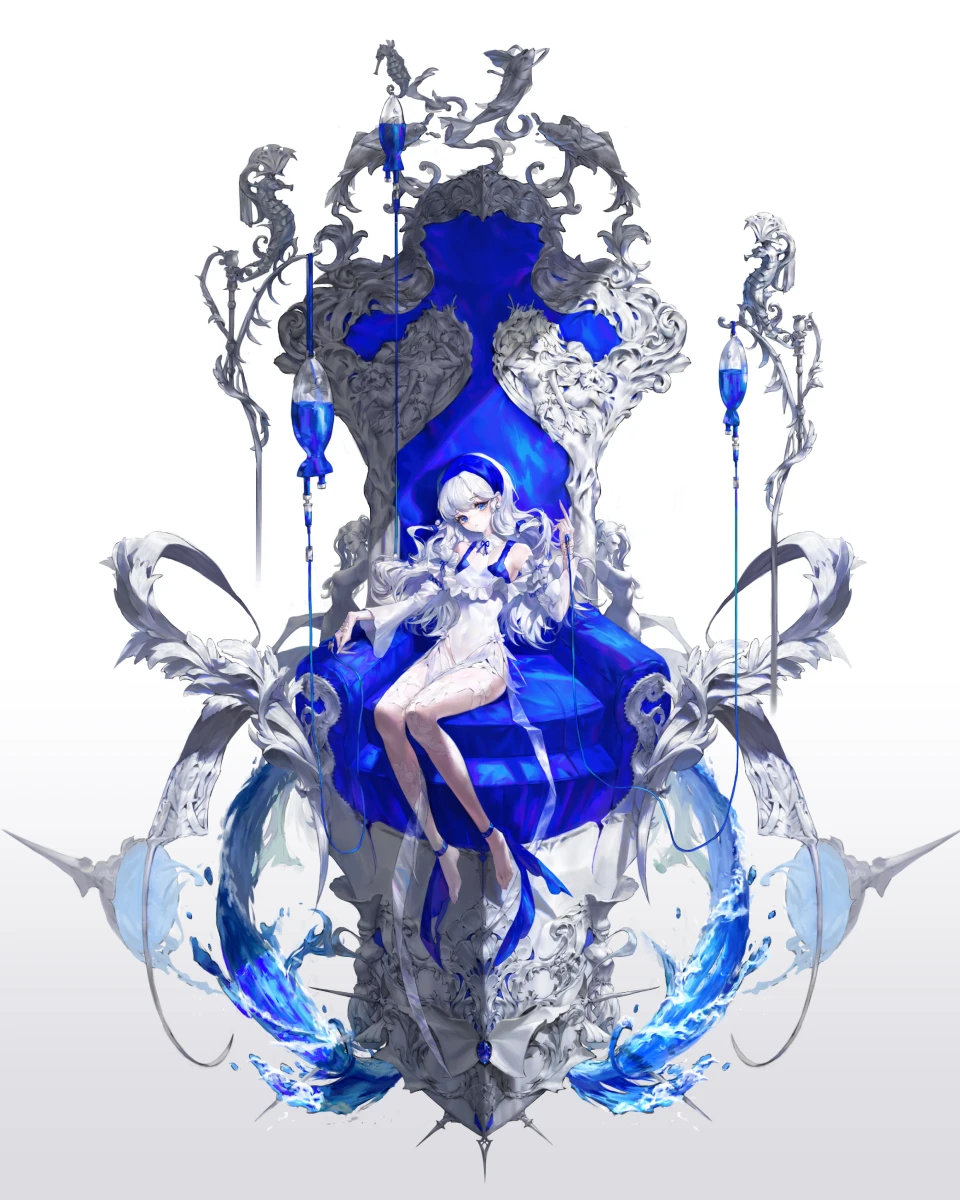
- Form Definition with Light: DOKSA demonstrates how to use large light sources to define the core volume of the character. By thinking about the direction and intensity of light (e.g., light from the right, backlighting), you can strategically place highlights and shadows to enhance the 3D form of the character’s face, body, and costume.
- Atmospheric Mood Through Color: The choice of light color significantly impacts the overall atmosphere. DOKSA experiments with different hues – from cool blues for backlighting to warm reds for accents – showing how color can evoke specific feelings or tell a story about the character’s environment or personality. This is crucial for conveying mood and making the character feel alive.
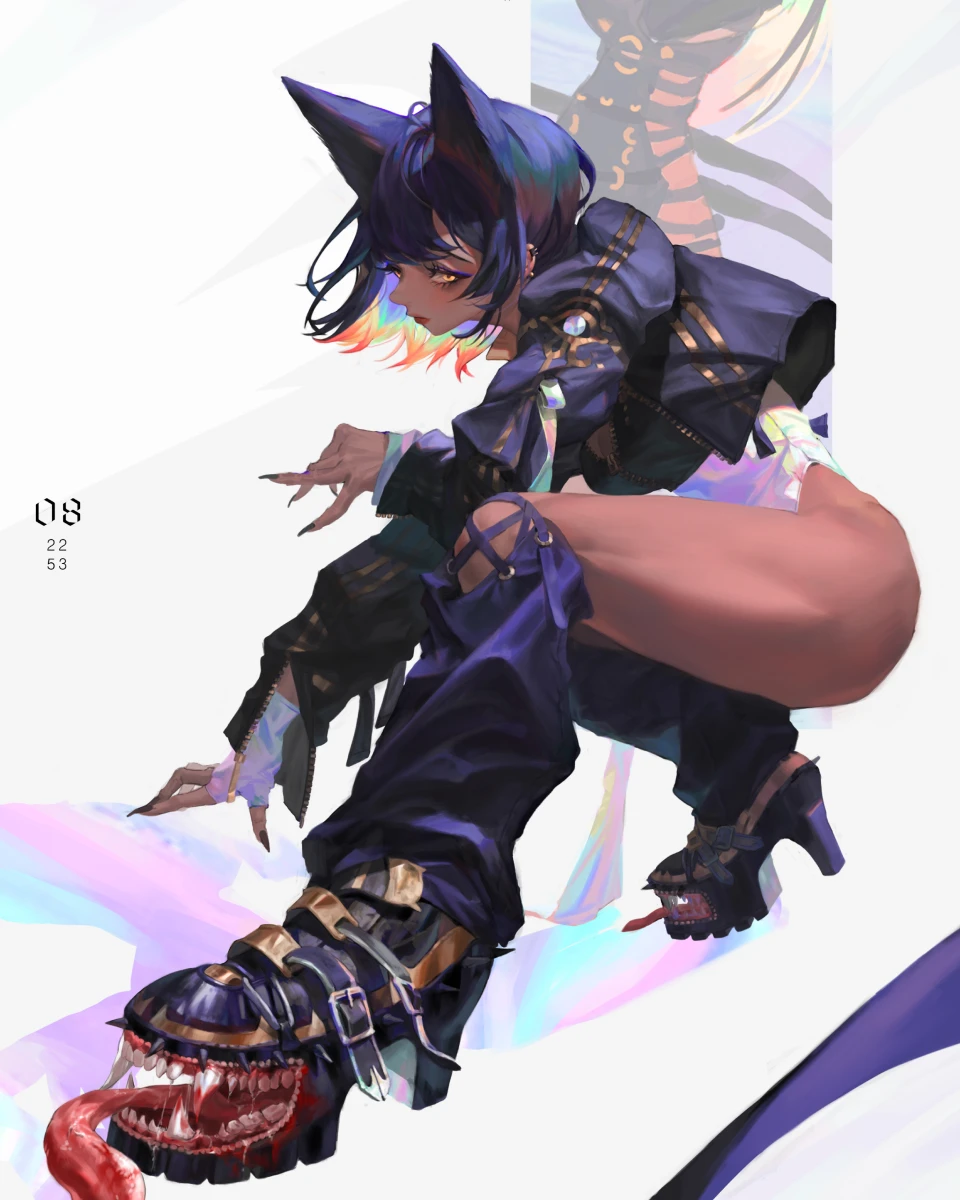
- Detail Enhancement with Lighting: For intricate areas like hair, clothing wrinkles, or facial features, DOKSA highlights the use of smaller, more precise lighting details. This involves using techniques like the Detail Brush or applying subtle highlights with tools like Overlay or Color Dodge to emphasize textures and edges, making the character feel more tangible and polished.
- Post-Production Value Adjustment: Utilizing tools like Camera Raw for final value adjustments allows for precise control over highlights and shadows. DOKSA shows how to finely tune the overall brightness and contrast to ensure the character pops effectively, even against different backgrounds. This final layer of polish is critical for professional-level results.
💬 Frequently Asked Questions
Q. Concept Artist DOKSA, how do you prevent lighting from making the character look flat?
Concept Artist DOKSA’s answer: Focus on establishing a clear, primary light source first. Define the main direction of light to sculpt the character’s form before adding secondary or subtle highlights. This creates a solid foundation for volume and prevents the lighting from feeling arbitrary or flat.
Q. Concept Artist DOKSA, what’s the best way to add a soft, glowing effect to character lighting?
Concept Artist DOKSA’s answer: For a soft glow, Gaussian Blur is your best friend. Apply it to the highlight areas on a separate layer, or use the Outer Glow layer style with adjusted Size and Opacity. Experimenting with these effects allows you to achieve a gentle diffusion of light that enhances the character’s presence without looking harsh.
Q. Concept Artist DOKSA, how important is it to check lighting on both black and white backgrounds?
Concept Artist DOKSA’s answer: It’s incredibly important. A lighting effect that looks great on a dark background might disappear or look completely different on a white one. Always toggle between background colors to ensure your lighting choices maintain their intended impact and clarity across various presentation contexts.