Blender Space Design: Mastering Low to High Poly Workflows for Stunning Environments
🧐 When Your Blender Scenes Lack That “Wow” Factor, Even After Following Tutorials
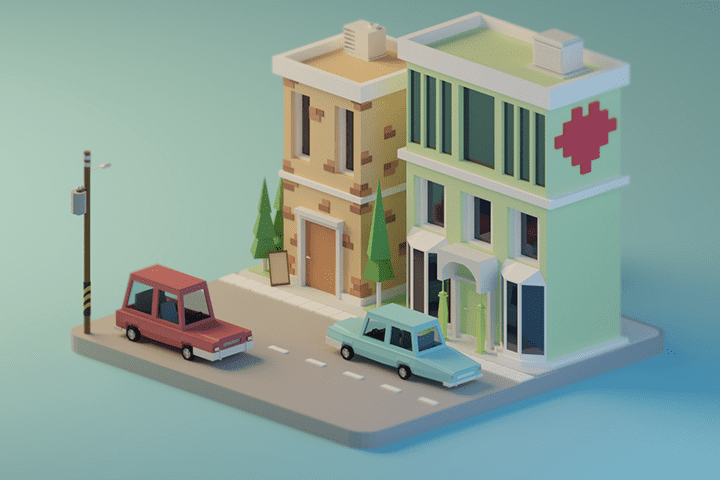
You meticulously follow every step, yet the final render feels… flat. It’s a common frustration in 3D space design: achieving that professional polish that makes a scene truly pop. Often, the issue isn’t a lack of effort, but a missing piece in the workflow – a subtle technique or a different perspective on essential processes. This guide dives into the core principles that separate amateur scenes from those that capture attention.
💡 Three Essential Principles for Elevated Blender Space Design
1. Strategic Poly Count: Balancing Detail with Performance
The difference between low-poly and high-poly modeling isn’t just about polygon count; it’s about strategic application. Low-poly is fantastic for establishing the overall form and composition efficiently, while high-poly excels at bringing crucial elements to life with intricate detail. A pro tip: focus your high-poly efforts on focal points or elements that will be closely viewed. This saves render time and keeps your scene manageable without sacrificing visual impact. For instance, use low-poly for broad architectural shapes and high-poly for detailed props like kitchenware or decorative items.
2. The Power of Light and Shadow: Breathing Life into Your Scenes
Lighting and shading are where your 3D space truly comes alive. It’s not just about placing lights; it’s about understanding how light interacts with surfaces to create mood and depth. Think about the direction, intensity, and color of your light sources. For example, using soft, diffused lighting can create a cozy atmosphere, while harsh, directional light can add drama. Experiment with emission shaders for glowing objects and utilize PBR materials for realistic surface textures. A key takeaway is to study real-world lighting scenarios to inform your 3D setups.
3. Camera Mastery: Framing Your Vision Effectively
Camera settings are your final storytelling tool. They guide the viewer’s eye and define the narrative of your scene. Beyond simply positioning the camera, consider focal length, depth of field, and composition rules like the rule of thirds. For isometric designs, a specific camera setup is crucial to maintain that distinct perspective. Learn to anticipate how the camera will view your model, and adjust your scene elements accordingly. A well-composed render can make even a simple scene feel intentional and impactful.
🛠️ Key Skills & Details That Define Professional Quality
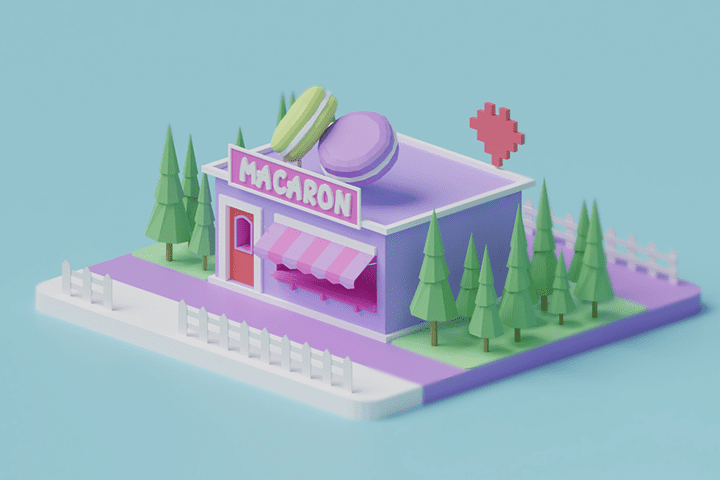
Translating the principles of good design into tangible 3D assets requires a deep understanding of Blender’s toolset and a refined workflow. This is where the magic happens:
- Modeling Nuances: Mastering both low-poly (for efficiency and style) and high-poly (for intricate detail) modeling is essential. This involves understanding modifiers like Bevel and Subdivision Surface, and knowing when to use add-ons like BTool for faster workflow. Pay close attention to edge flow and topology, especially when working with subdivision surfaces, to avoid pinching and unwanted artifacts.
- Texturing & Shading Techniques: Learn to effectively UV unwrap models to ensure textures are applied correctly. Understand how to use PBR materials and mix nodes to create realistic surfaces. For objects that need to emit light, such as lamps or screens, mastering emission shaders is key. The goal is to create materials that react to light believably.
- Lighting for Mood & Depth: Beyond basic lighting, explore advanced techniques like using fog for atmospheric effects and scattering light to create realistic reflections. Understanding HDRI (High Dynamic Range Image) for environment lighting provides a natural and comprehensive light source. The interplay of light and shadow is crucial for defining form and guiding the viewer’s eye.
- Rendering & Compositing: Final rendering involves setting up your scene for optimal output. This includes choosing the right render engine (like Cycles or Eevee in Blender) and configuring settings for quality and speed. Post-processing in the Compositing tab allows for color correction, adding effects like bloom, and fine-tuning the final image to achieve a polished look.
💬 Frequently Asked Questions
Q. What is the future outlook for 3D background modeling?
3D Artist BBoDX notes that the future of 3D background modeling is promising, particularly in the VFX and gaming industries, which are experiencing significant growth. The rise of the metaverse and advancements in hardware are also expected to increase demand for accessible 3D creation. The ability to create simple yet visually appealing artwork quickly is becoming highly valued.
Q. What is the most crucial element in 3D background modeling?
3D Artist BBoDX emphasizes that overall balance and a keen sense of scale are paramount in background modeling. Unlike single prop modeling, backgrounds require careful consideration of how individual elements relate to each other to create a cohesive scene. Knowing where to focus detail and where to simplify is key to efficient and effective work.
Q. What makes this Blender course unique?
3D Artist BBoDX highlights that this course focuses on teaching multiple approaches to achieving a single outcome, rather than a standardized method. This encourages creative problem-solving and helps learners develop their own unique style. The curriculum covers diverse examples and techniques, ensuring that students can apply what they learn to a wide range of future projects, fostering both adaptability and artistic expression.