Mastering 2D FX: Blender, Unity, and Shader Secrets for Casual Games
🧐 The Frustration of Flat, Uninspired 2D Effects
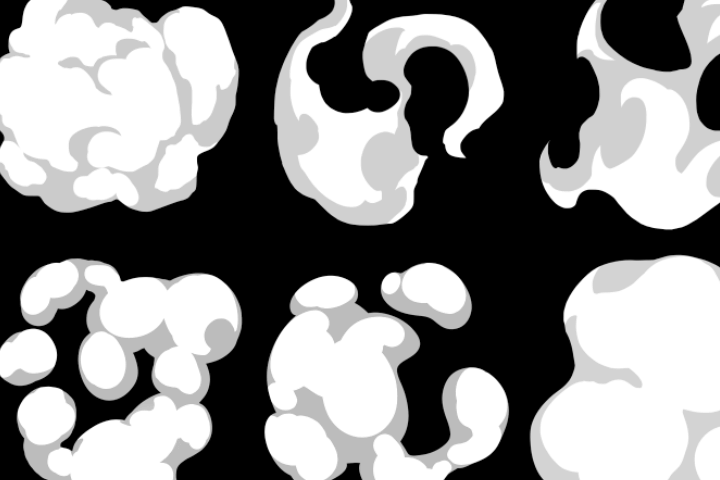 You meticulously draw your textures, assemble your particle systems in Unity, but the final effects still lack that spark—they feel… digital, not dynamic. The workflow often feels like a tangled mess of disconnected tools. Getting that hand-drawn, stylized look that pops in casual games requires more than just basic knowledge; it demands an optimized pipeline and a deep understanding of how textures, shaders, and engines play together.
💡 Three Core Principles for Dynamic 2D Effects
This expert breaks down the process into actionable steps, focusing on efficiency and quality.
1. Seamless Integration: Blender as Your 2D FX Asset Forge
Instead of treating Blender as solely a 3D modeling tool, leverage its capabilities for efficient 2D FX resource creation. The key is to create meshes and source assets with a focus on what’s needed for 2D effects, minimizing complexity. This approach ensures your exported assets load smoothly into Unity, maintaining a clean and manageable workflow.
2. Shader Crafting: The Art of Material Properties
Shaders are your paint’s personality. For unlit particle effects, creating a UIP Unlit Shader Graph is fundamental. Understanding the difference between ‘Lit’ and ‘Unlit’ is crucial. By defining materials with specific shader properties, you control how your textures behave, adding transparency and visual depth that static images can’t achieve. This involves setting up Graph Settings for transparency and Blending Mode to Alpha.
3. Texture Channel Alchemy: Beyond RGB
Professional 2D FX often relies on clever texture channel utilization. Don’t just think of textures as color. The Red, Green, Blue, and Alpha channels can each control distinct aspects of an effect:
- Red Channel: Can serve as the primary drawing or paint layer.
- Green Channel: Ideal for defining dissolve masks or shape outlines.
- Blue Channel: Useful for secondary color variations or defining transition points.
- Alpha Channel: Controls transparency and is critical for masking and dissolve effects. Mastering how to author textures in formats like Targa (.tga) allows you to utilize all four channels independently, unlocking complex visual behaviors.
🛠️ Key Skills & Details That Define Professional Quality
Creating captivating 2D effects goes beyond simply assembling assets. It’s about the nuanced understanding of how each component interacts.
- Texture Authoring for Effects: When creating textures, particularly for dissolve or masking effects, think in terms of greyscale gradients and distinct channel information. For instance, using Photoshop’s Channels tab is essential for visualizing and manipulating R, G, B, and Alpha data. Saving as a .tga file is key to preserving this multi-channel information. The Add blend mode in Photoshop layers becomes your best friend for combining channel information without overwriting previous data.
- Shader Graph Essentials: In Unity’s Shader Graph, parameterizing your Main Texture allows for easy iteration. By creating a Sample Texture 2D node and linking it to your material’s texture slot, you can directly influence the visual output. The Vertex Color node is another powerful tool, enabling you to pass per-vertex color data into the shader, which can then be multiplied with your texture’s RGB values to control base color and with the alpha for transparency. This offers dynamic color control within the particle system itself.
- Implementing Dissolve Effects: A common yet impactful effect is the “dissolve” or “erosion” effect. This is achieved by manipulating the alpha channel based on specific texture data. By using the Green channel of your texture to drive a Subtract operation against the alpha, you can create a fading or dissolving appearance. Adding a Float value (e.g., 0.1) to this operation allows for temporal control over the dissolve speed, making the effect evolve over time. This intricate dance between texture channels and shader logic is what separates basic effects from professional-grade visuals.
💬 Frequently Asked Questions
Q. How can Fxartist Chungkyeom Kim suggest using Blender for 2D effects when it’s primarily a 3D tool?
A. Fxartist Chungkyeom Kim’s approach leverages Blender for its efficient mesh generation and asset export capabilities, specifically optimized for 2D assets. The focus is on creating minimal, game-ready resources that integrate seamlessly into Unity, rather than complex 3D scenes.
Q. What’s the most critical concept for beginners to grasp when learning Unity shaders for 2D FX?
A. According to Fxartist Chungkyeom Kim, understanding that shaders dictate the “paint’s properties”—like watercolor versus oil—is paramount. For unlit particle effects, mastering the creation of UIP Unlit Shader Graphs and correctly setting Surface Type to Transparent with Alpha Blending are foundational steps for visual control.
Q. How does Fxartist Chungkyeom Kim recommend managing texture alpha channels for advanced effects like dissolve?
A. Fxartist Chungkyeom Kim emphasizes treating texture channels (R, G, B, A) as independent data streams. For dissolve, the Green channel can be used as a mask to drive the alpha channel’s behavior, controlling where and how an effect dissolves. Saving textures in formats like Targa (.tga) is essential to preserve this detailed channel information.