Mastering OctaneRender: Advanced Camera Animation & Custom HDRI with VFX Artist Youmgyul
🧐 That Moment When Your Render Looks Flat and Uninspired…
 You meticulously set up your scene, but the final output lacks the dynamic feel and visual depth that professional VFX work demands. The camera feels static, and the lighting feels generic. This often stems from underutilizing camera animation principles and relying on default environment maps.
💡 VFX Artist Youmgyul’s Core Workflow Enhancements
1. Precision Camera Animation with Stage & Morph Tag
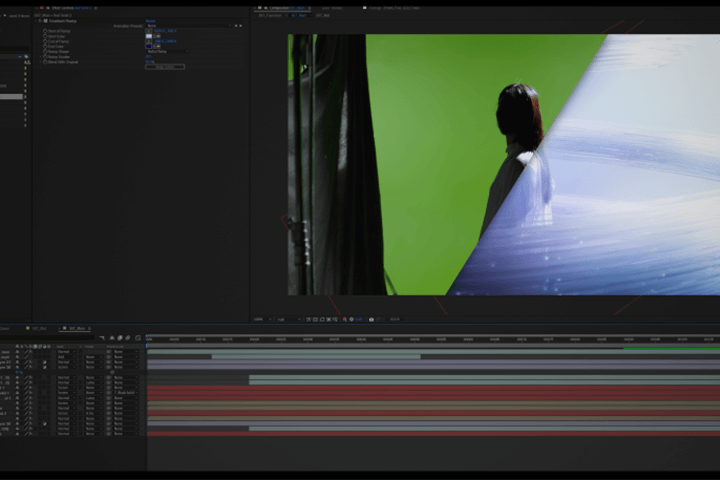
When crafting compelling visuals, the camera’s movement is as crucial as the scene itself. Youmgyul emphasizes a dual approach: the Stage object for sharp, distinct camera cuts, and the Camera Morph Tag for seamless, fluid transitions. For instance, you can define a close-up shot for frame 0 to 120 using Cam_A and a wider establishing shot for frame 120 to 240 with Cam_B. By animating the Blend value in the Camera Morph Tag from 0 to 1 over a specific frame range (e.g., 100-140), you can achieve a natural camera pull-out or push-in. This isn’t just about switching views; it’s about storytelling through motion.
2. Crafting Custom HDRI Maps with Gradient Nodes for Unique Lighting
Standard HDRI maps can limit your creative control and often introduce unwanted elements. Youmgyul’s method involves using Octane Render’s Gradient Node to create bespoke HDRI maps. By disabling the default image texture and connecting a gradient, you gain granular control over light distribution. For example, setting the gradient mode to Linear and adjusting the Rotation Z in the Transform tab to 90° allows for a more natural, top-to-bottom light falloff. This technique is invaluable for achieving specific artistic looks, like a rose-gold sheen or a vibrant purple and turquoise highlight, without the noise or limitations of pre-made assets.
3. Strategic Focal Length Adjustment for Narrative Focus
The choice of focal length fundamentally alters how your scene is perceived. For close-up shots demanding detail, like the watch face in the example, increasing the focal length to a telephoto range (e.g., 60mm) narrows the field of view, emphasizing intricate details. Conversely, for wider shots showcasing the overall structure and environment, a standard lens (e.g., 36mm) provides a broader perspective. This isn’t an arbitrary decision; it’s a deliberate choice to guide the viewer’s eye. Setting keys for the target position and adjusting focal length accordingly ensures each shot serves its narrative purpose effectively.
🛠️ Key Skills & Details That Define Professional Quality

Elevating your 3D renders from amateur to professional hinges on mastering nuanced control over lighting and camera work. Youmgyul’s approach highlights how understanding Octane Render’s node-based system is paramount. When creating custom HDRI maps with the Gradient Node, the ability to precisely control highlight placement and intensity is key. For instance, by inverting the gradient and adjusting knot positions and colors, you can sculpt how light wraps around your metallic objects, ensuring reflections are sharp and purposeful.
Furthermore, the practical application of the Stage object for camera cuts is a workflow accelerator. Instead of manually keying camera switches, the Stage object acts as a robust switch, preserving all camera-specific settings like Camera Imager adjustments. This saves significant time during complex animations. When dealing with metallic materials, the GGX BRDF model combined with an artistic IOR mode allows for fine-tuning specular reflections to achieve realistic gold or rose-gold finishes. This level of detail, from precise animation to custom lighting solutions, is what distinguishes professional outputs. The ability to bake the gradient texture using the Baking Texture node, particularly in HDR linear space, further refines the lighting, removing aliasing artifacts and providing gamma control for a polished final look.
💬 Frequently Asked Questions
Q. How can a VFX Artist effectively use the Stage object for camera cuts?
A. The Stage object in Octane Render acts as a powerful switch for managing multiple cameras within a single scene. You can assign different cameras, like Cam_A for close-ups and Cam_B for wide shots, to specific frame ranges. When the specified frame is reached, the Stage object automatically transitions to the designated camera, maintaining all its associated settings, including Camera Imager properties. This ensures a clean and efficient cut between shots without manual intervention.
Q. What is the advantage of creating custom HDRI maps using Gradient Nodes for a VFX Artist?
A. Custom HDRI maps generated with Gradient Nodes offer superior control over scene lighting and reflections compared to standard HDRI files. A VFX Artist can precisely define the color, intensity, and placement of highlights and shadows, tailoring the environment to enhance specific materials or moods. This method avoids unwanted elements often present in real-world HDRIs, leading to cleaner reflections and a more stylized, artificial look when desired, crucial for many VFX productions.
Q. When should a VFX Artist use the Camera Morph Tag versus the Stage object for camera transitions?
A. The Stage object is ideal for abrupt, distinct camera cuts between different shots. In contrast, the Camera Morph Tag is used for creating smooth, blended transitions between cameras, such as a camera dolly-in or pull-out. A VFX Artist can animate the Blend value of the Camera Morph Tag to gradually morph from one camera’s position and settings to another over a specified frame range, creating a more organic and cinematic feel for specific sequences.